Search This Blog

Friends & Followers

Blog Archive

My Blog List

Contact US:

Name

Email *

Message *

Friday, July 30, 2010

Out Grease Spot Out (Laundry Tutorial from Mommy Memorandum)

Related Posts with Thumbnails

Tutorial: Laundry Tip Removing Grease Stains

This is a tutorial from Mommy Memorandum, she was nice enough to let me feature this for you guys.

Out Grease Spot! Out!

It's a good thing I like to do laundry because we generate a lot of it at our house. This morning was wash day and as I was checking the clothes for stains before washing, I came across a shirt worn by my husband. He's a pig--as this shirt reveals.

Those "spots" are grease! Gross I know, but behind every clean shirt is this laundry-lovin' Wife. I make his clothes lend the impression that he is CIVILIZED!

This is a laundry tutorial on how to get grease out of clothes. It can be done.

First, you'll have the best success if you catch it before you wash it and definitely before it finds its way through a dryer cycle.

This part is optional, but I find it helps me identify the "stain" later on. Using a fabric pencil, trace around the stain. I used white on the dark shirt. It doesn't have to be detailed, just an outline so you know where the grease spot is on the garmet.

Place inside garmet a pan or container of some sort.

With the garmet pulled over the container, pour rubbing alcohol over the stain. You will want to pour the alcohol over each stain two times. Use just enough alcohol to saturate the stain area.

Allow the shirt to sit, with the alcohol on it while you boil water.

Once you have boiling water, pour it over the alcohol saturated grease spot.

From here, wash as usual.

When the wash cycle is complete, remember to check the garmet to see that the stain is out. I typically line dry the garmet to be sure. If there is still grease, you'll want to repeat the process before you put it in the dryer.

Ta-Da! Grease spot is GONE!

how awesome and easy this is. Thanks mommy memorandum for letting me feature this.

So of course- you get a button for your awesomeness


♥Jess

Following Friday 7/30

Let's Just Give It Away

Thanks for coming to Following Friday where I am a co-host with Let's Just Give It Away,

And Then There Were 4, Buzzing The Day Away,

and Whirlwind of Surprises

Here is how you can join us.

1. Link up your blog URL on Mr Linky.

2. Follow the Hostesses ( and leave a comment so they can follow you back).

3. Grab The Following Friday button and paste it somewhere on your blog or in a post.

4. Follow as many blogs as you like and when they follow you, follow them back. (leave a comment on their blog so they can follow you back)

have a great time finding some new friends ♥Jess

D.I.Y Painted Napkins and Placemats {tutorial from 504 Main}

Holly over at 504 Main was so generous enough to let me share her tutorial with you guys. I thought it was amazing and beautiful..This is directly from her site and I left the DIY club info on there in case anyone is interested in joining. I want to thank Holly for letting me feature this.

and of course she gets a featured button

copy the code below..to paste it to your blog (if you wish]

<textarea rows="4" cols="20"><a border="0" href="http://sewcraftable.blogspot.com" target="_blank"><img src="http://i811.photobucket.com/albums/zz35/madebyjess/limegreendreamsbutton.jpg" /></a></textarea>

I have so many projects in the works...some for me, some for my son, some for my house {you can see the kitchen photos - finally - here!}, and a lot for the DIY Club. We have so many awesome sponsors for the DIY Club...and I am a little too inspired {is that possible...yes it is unless you do not need to sleep}.

So, before I go any further...

Did you know the new DIY Club challenge starts next week?

Are you ready? Are you thinking about it? If not, why?

Do you realize how super-simple it is to enter:

One vendors sponsored product

{Gorilla Glue, Decoart, DISChangers, Rockler, P.K. Glitz, Olive Rue, Cutting Edge Stencils...

and more being added all the time!}

One photos of the product in your post

One little ole DIY Club button on your sidebar or in the post

And do you know what your could win? Hmmm, so you? Some seriously awesome prizes! You do not have to have a crafty type blog...you do not have to build a house...you just have to be able to create something big or little that uses a vendor product. So come on crafters, DIYers, home improvement gurus's - get your glue, paint, glitter, drills, iron, nails out and getting thinking and creating! Did I mention - oh yeah I did - but who cares, I will say it again...there are FABULOUS prizes!

***************

Now, I am done with my BSA {Blog Service Announcement}

and here is my fun project I have been working on...
A Gift For My {new} Kitchen!
Click
HERE for a pdf version of this tutorial

I remember back in "my day" making T-shirts before high school dances - so our group could all match of course! I remember that paint being thick and stiff. Those instances, with the exception of a time or two in between, that was the last time I used fabric paint. Well, recently I received the Americana Fabric Painting Medium by Decoart and I am ready to paint everything. Fabric paint has come a long way! By mixing this medium with your favorite color acrylic paint, you get a soft, creamy and might I say dreamy fabric paint. Yeah!

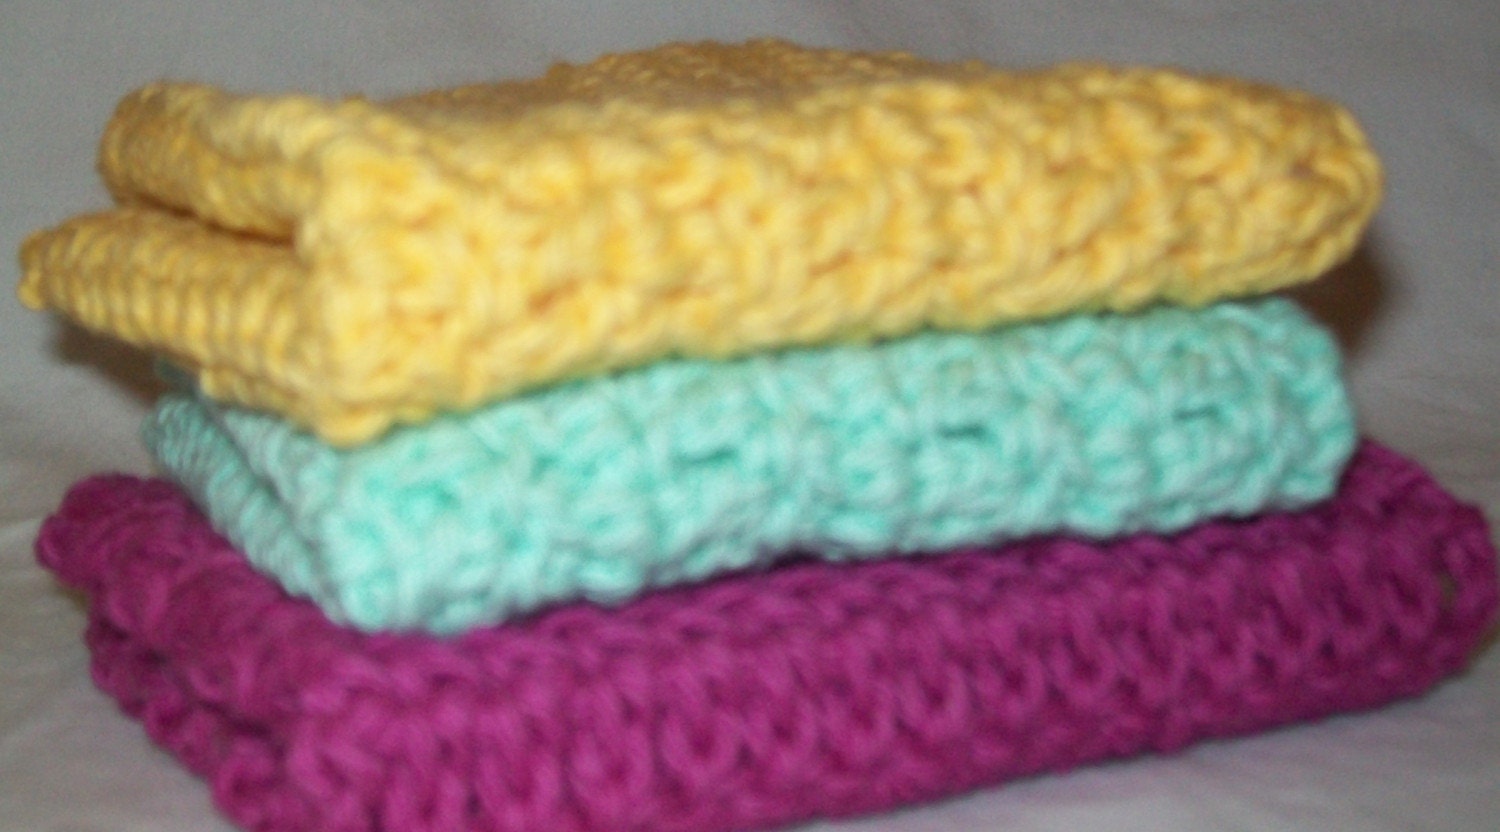
I began this project with the intention of making some flour sack towels -

which I did, but ended up loving the fabric painting medium so much

and the results I got that I went on to make placements and napkins...

and I see an apron in my future!

Here's how to make your own!

Supplies

-Americana Fabric Painting Medium by Decoart

-Americana Acrylic Paint in Yellow Ochre by Decoart

-Americana Acrylic Paint in Plum by Decoart

-Paint brush, sponge brush, or stencil pouncer {I used the pouncer and brush}

-Flour Sack towels OR cloth napkins OR cloth placemats

-Freezer paper

-Craft Knife (optional)

-Stencil of choice {or free hand a design}. NOTE: I made a few stencils and then found a great stencil for free at Ready Made Magazine as part of Refurbished Beach Chair project {Have you checked out Ready Made - the best magazine!}. You can also find stencils from Cutting Edge Stencils

-You will also need a jar or plate for mixing the medium, and iron/ironing board, and access to a washing machine.

DIY IT!
-Wash and dry the towel/napkin/placemat

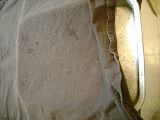
-Print out stencil - 2 sizes one larger and one smaller- and cut design out on freezer paper using a craft knife {or scissors}. I have never used freezer paper before, although I have seen it around since I began blogging - the best! I was able to cut up to 6 layers of freezer paper at one time, which saved a lot of time since I used multiple stencils for my project.

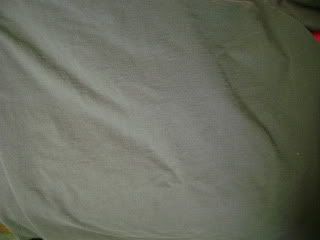
-Iron your fabric to get out wrinkles {if necessary}

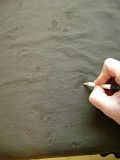
-Trim around each stencil and place individual stencils onto project.

-Iron freezer paper down to fabric.

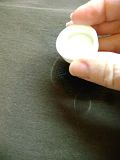
-Mix your paint and fabric painting medium at a 2:1 ratio

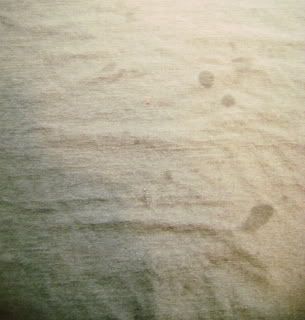
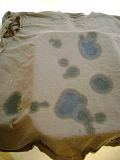
-Begin painting, by lightly brushing or pouncing over the stencil. Begin with the lightest color first {yellow ochre}.

-Let dry 24 hours and come back with the smaller stencil.

-Place and iron smaller stencil onto project, overlapping larger flower in areas.

-Mix darker paint and medium.

-Paint by lightly brushing or pouncing over the stencil with the darker color {Plum}. 

-Let dry for 24-48 hours.

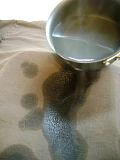
-Heat set for 30 seconds with iron.

-Wash on gently cycle {inside out if a garment}.

{sample of my overall placement}

Hope you enjoyed this as much as I did. I love doing stuff like this, and am going to have to get my own tutorials up soon..

Anybody else want to be featured?

email me- sewcraftable@gmail.com

♥Jess

Happy Hoppin. Friday Blog Hops♥

I am entering into these amazing blog hops. I love finding new friends and awesome blogs. I am always up for comments or conversations. If you would like to post a tutorial {on anything} even if it has already been published…email me @ sewcraftable@gmail.com
♥Jess
 
 
New Friend Fridays


Smart and Trendy Moms


Thursday, July 29, 2010

Kelleys Crafty Gifts {etsy review}

Kelley from kelleyscraftygifts generously let me review some of her crocheted dish cloths. Just let me tell you— I am never using a washcloth ever again to wash my dishes. The crocheted dish cloths work so much better than the regular cloths. It has 2 sides. One side is for washing cups, bowls, plates, and silverware.
This was amazing to use. It cleaned better and it doesn’t start smelling weird. You can wash and re-wash and it doesn’t smell. All you have to do is rinse it with hot water and soap and let it air-dry and wa-lah, you can re-use it

The blue side is for scrubbing pots and pans and is also teflon safe. It won’t scratch. It is also a really great counter/stove cleaner. Also you can just throw the dish cloths right in the washer and wash with the rest of your cloths. It won't hurt them a bit.
Get to know Kelley:
Hi, my name is Kelley, I am 44 and  from Coquille,Oregon. Its a little town on the coast.  I am married to wonderful man of 8 years, have 2 children, Mark 21 and Jenn 18. I have 5 cats and they are all rescued. I love to fish, hunt for agates and spend time with my family. I am an avid collector of dolphins and wolves.
I was disabled a few years ago and have since taken up crafts.  I did crafts as a child and learned to crochet at the age of 8.  I make all sorts of items to try and make an income to help support the household and pay medical bills. 
You will find that I have numerous items on my website.  I love to do all sorts of things from kids stuff to adult things.  You will find things such as scarves, tulle dish rags,  easter baskets, doilies, baby hats, baby cloths, christmas items, halloween items, wreaths for all seasons, purses, and rugs.  I am sure there is more, just to many things to list.  The best way to see what I have is to visit my website and check for yourself and see if something catches your eye.  If you see something you like but would like it in a different color or size, please let me know, I am sure I can make it.


Of course I have to show you some of my other favorites from her shops
Make-up remover pads
Make Up Pad Removers
Bath Mitt
Bath Mitt Crocheted
Clutch Purse
Crocheted Clutch Purse
The dish cloths
Tulle Dish Cloths FREE SHIPPING
Wash Cloths
Dish Cloths or Wash Cloths FREE SHIPPING
I love them all. She is such a gifted crocheter and uses the most awesome colors.
She has a shop on etsy {here}
A shop on Artfire {here}
& byhand.me {here}
You can gain an extra entry into the $40 Gift Card by going to one of her shops and commenting {here} about which product you love. Please put KCG in the comment form so I know you mean Kelly’s Crafty Gifts.
She is an amazing person, with an amazing ability and I am glad to be able to share this with you. I want to thank her for being so kind and letting me review her products. She is having a 10% off sale for Christmas in July, so don’t forget to grab you something. ☺
I wasn’t paid to do this review, she was just nice enough to let me review her dish cloths. This is my own opinion of this product, and I wouldn’t say something that isn’t true.
♥Jess

Popular Posts